All products are independently selected by our editors. If you buy something, we may earn an affiliate commission. Learn More >
Have you ever wondered why your moka pot isn’t brewing like it used to? It might be time to replace the gasket.
Swapping out this small rubber ring is an easy fix that can make your stovetop espresso maker work like new again.
You’ll be surprised at how much difference a fresh gasket can make in the taste and quality of your brew.
Keep reading to find out how to bring your favorite moka pot back to life.
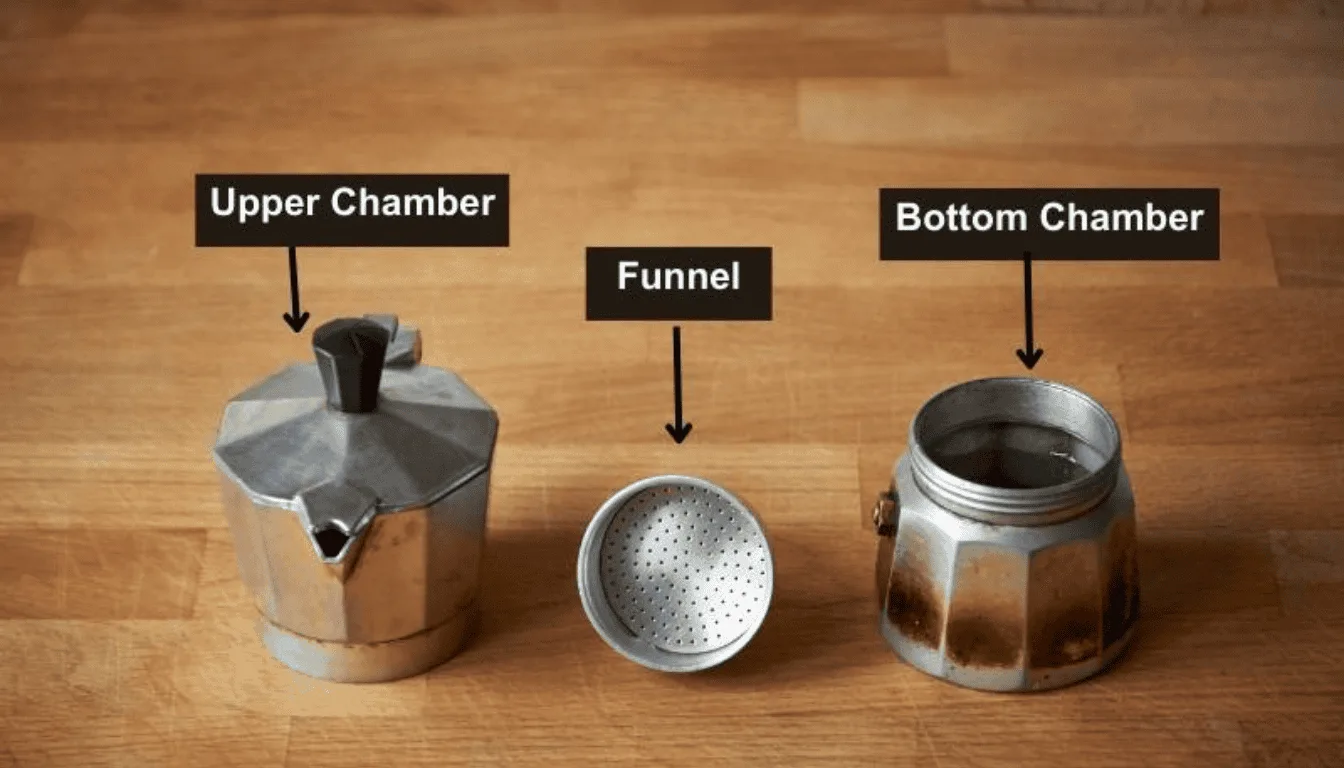
Understanding the Moka Pot and Its Components

A Moka pot is a classic coffee maker known for producing rich, espresso-like coffee. It works by passing boiling water pressurized by steam through ground coffee.
One key part of this process involves the gasket, which ensures a good seal and proper pressure buildup.
The Role of the Gasket in a Moka Pot
The gasket is a crucial part of the Moka pot. It’s a rubber or silicone ring situated between the pot’s upper and lower halves. Its main job is to create a tight seal that prevents steam and water from leaking.
This is essential for building the right pressure needed to push hot water through the coffee grounds effectively.
Gasket material varies, with some being made of rubber, offering flexibility, while others are silicone, known for durability and heat resistance.
Over time, gaskets wear out, leading to leaks and ineffective brewing. Checking and replacing them ensures your Moka pot works correctly, producing the best coffee possible.
Always ensure you have the right size and type of gasket for your specific Moka pot model.
Identifying When to Replace Your Moka Pot Gasket
Knowing when to replace the gasket in your Moka pot is crucial to maintaining its optimal performance.
Let’s explore the indicators of wear and the typical lifespan of these gaskets.

Signs of Wear and Tear
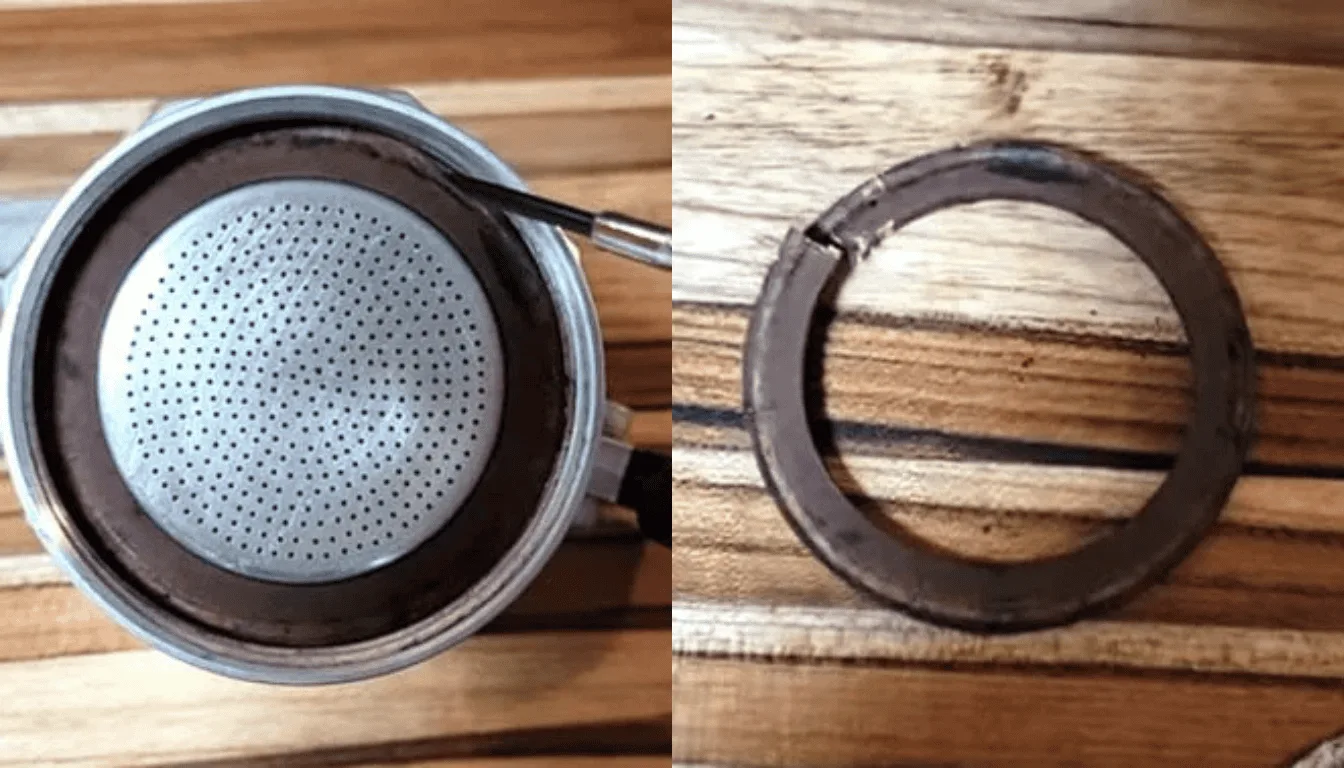
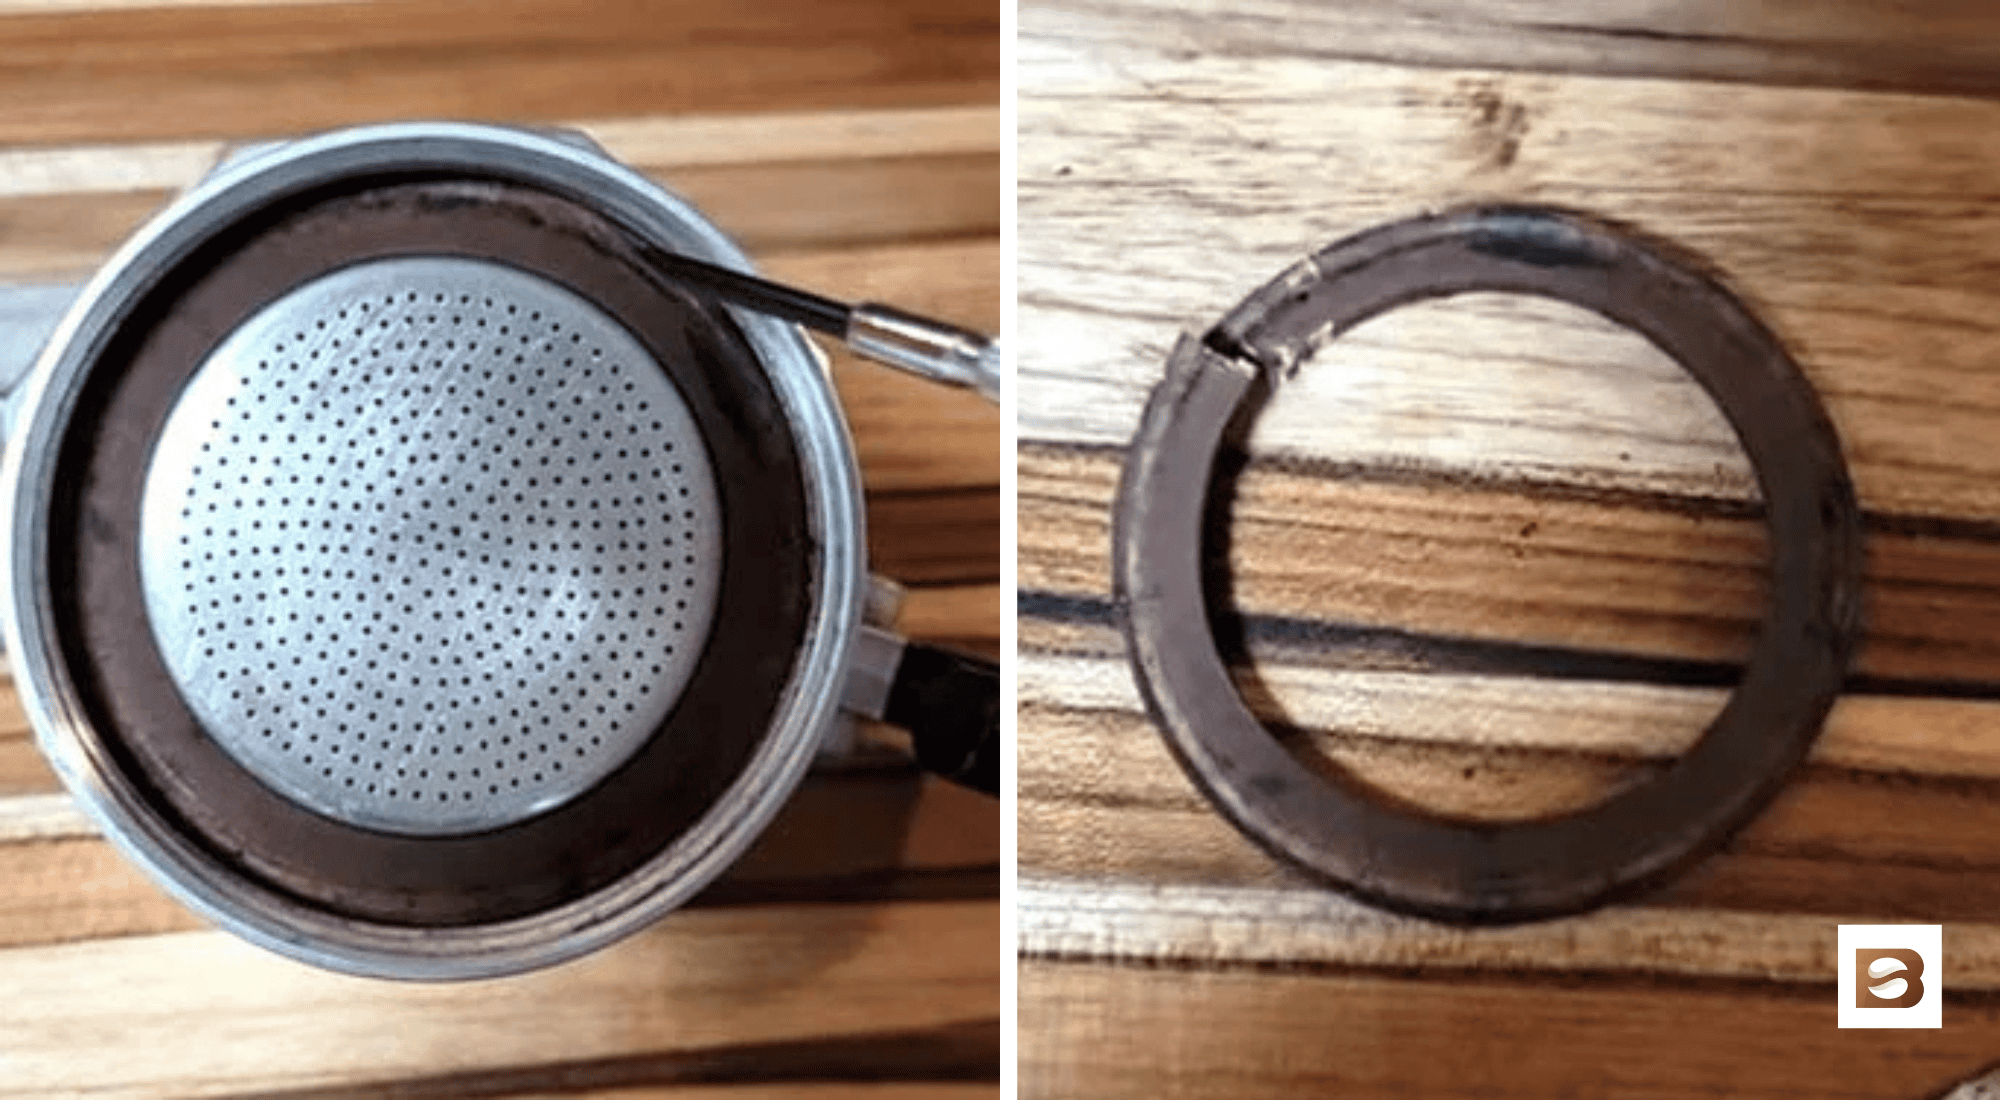
The gasket, usually made from rubber or silicone, is key for a tight seal. Over time, it can degrade. Look for cracks or splits that affect its function.
A damaged gasket might cause leaks, leaving you with weak coffee and making a mess.
Check for discoloration as well. Gaskets should be flexible. If it feels hard or brittle, it can’t seal properly. You’ll face brewing issues if it loses elasticity. Look for signs that the gasket isn’t fitting snugly.
Gasket damage can also result in a hissing sound during brewing.
If these signs are present, it’s time to consider a replacement before your coffee routine is derailed.
Assessing the Gasket’s Lifespan
The typical lifespan of a moka pot gasket varies based on use and care. Frequent use might necessitate replacement within six months.
If used less often or handled with care, it can last longer. Washing your moka pot by hand and avoiding high temperatures can extend its life.
Regular maintenance helps spot issues early. Avoid using sharp objects to clean it. Overstretching can also reduce its lifespan. Consider documenting its installation date to keep track of wear over time.
There are different gasket materials available. Silicone gaskets tend to be more heat-resistant and last longer than rubber ones.
Choosing the right gasket affects brewing success and longevity.
Steps to Replace the Moka Pot Gasket
Replacing the moka pot gasket is fairly simple and ensures your coffee maker continues to work smoothly. Here, you’ll find how to select the right gasket, remove the old one, and install the new one.
Selecting the Correct Gasket Size
First, it’s important to choose the right gasket size. Moka pots come in various sizes, so you need to match the gasket to your pot’s size.
Check the outer diameter of the old gasket for reference. Rubber and silicone gaskets are popular choices, with silicone being more durable.
To measure, use a ruler or tape measure. Write down the diameter in millimeters, as gaskets are often sold in this measurement.
If you’re unsure, refer to your pot’s manual or check the manufacturer’s site. This simple step can save you from getting the wrong size.
Removing the Old Gasket

Removing the gasket requires a little patience. First, unscrew the top and bottom parts of the moka pot. You’ll find the gasket around the edges of the filter plate. Use a small, flat screwdriver to pry it off gently.
If it’s stuck, a warm water soak can help soften the rubber or silicone. Be careful not to damage the pot or filter plate when removing it.
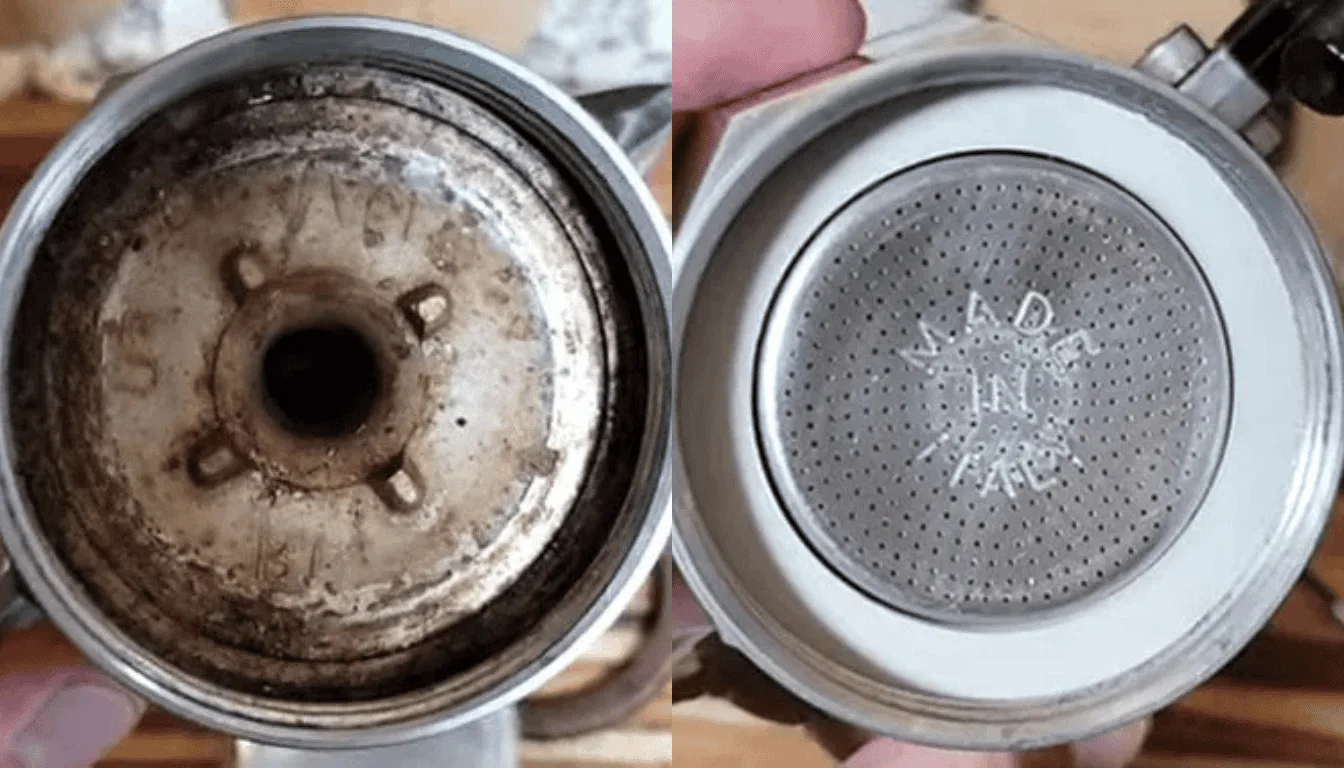
Once you’ve taken it out, clean the edges to remove any old residue. This prepares the area for the new gasket.
Installing the New Gasket
Installing the new gasket is straightforward. Start by placing your new gasket over the edge of the filter plate. Ensure it sits flat and evenly around the edges for a perfect seal.
Press it firmly into place to make sure it’s secure.
Before using the moka pot, check the fit by screwing the top and bottom together. It should close easily without forcing. If it feels tight, adjust the gasket by repositioning it slightly.

Now, you’re ready to brew a fresh pot of coffee with confidence!
Aftercare and Maintenance
Taking care of your moka pot keeps it brewing delightful coffee. A little maintenance goes a long way.
Clean Regularly
After each use, rinse all parts with warm water. Avoid soap as it can affect the taste of your next brew.
Dry Thoroughly
It’s important to dry your moka pot completely before storing it. Moisture can cause staining or damage over time.
Gasket Check
Inspect the gasket after each use. Look for signs of wear or cracks. A worn gasket can affect the pot’s performance.
Material Matters
Different gasket materials can wear out at different rates. Silicone gaskets are durable, but rubber ones may need replacing more often.
Storage Tips
Store your moka pot in a dry place with the lid off. This helps air it out and prevents any unwanted odors from developing.
Descale Occasionally
If your water is hard, descale your moka pot occasionally to remove mineral buildup. You can use white vinegar for this process.
Be Gentle
When reassembling, don’t overtighten parts. This can warp the gasket or damage the threads. Everything should be snug but not forced.
By following these simple steps, you can enjoy delicious coffee from your moka pot for years to come.

Wrapping Up
Now you know how to replace the gasket in your Moka pot. It’s a simple task, but it keeps your coffee maker in top shape.
You have to check your gasket often. If it looks old or cracked, just swap it out for a new one. Using a fresh gasket ensures your coffee brews perfectly with no leaks.
Keep your tools handy, like a soft cloth and a new gasket. With these ready, you can enjoy that rich cup of coffee with ease, whenever you want.


